
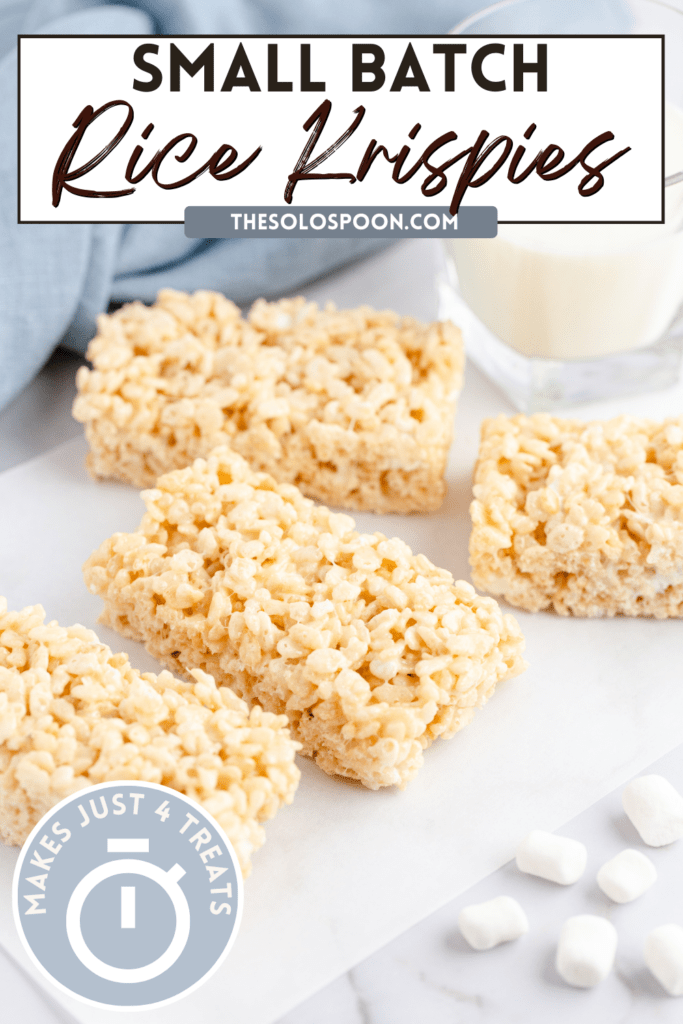
Are you looking for a smaller batch recipe for rice krispie treats? Making just one pan of them is much more practical than making a double batch and having them go stale. This small batch rice krispie treats recipe also makes the perfect dessert for meal prep or a weeknight dessert because it can be made in advance and stored in an airtight container until you are ready to eat.

Why Small Batch Rice Krispie Treats?
If you’re used to making a larger quantity of rice krispie treats, you may be surprised at how few ingredients this one requires. But those few ingredients make all the difference. You’ll want to add everything on the ingredient’s list below; trust us on this. The result is slightly salty-and-sweet marshmallow squares that are completely irresistible. They’re also super easy to make, as long as you follow our instructions for this classic dessert.

Ingredient Notes
To make a small batch of rice krispie treats, you need just a few of the classic ingredients:
Ingredients you’ll need for this recipe

Equipment needed
To make small batch of rice krispie treats, you’ll need just a few tools:
- A large Sauce Pan or Large Pot
- Wooden Spoon or Spatula
- 9×5 Loaf Pan
- Parchment Paper
- Glass Container or Plastic Container (for storage)
Tools You’ll Need


As an Amazon Affiliate, we earn from qualifying purchases at no additional cost to our readers.
How to make Small Batch Rice Krispie Treats
Let’s walk through the process visually to create your Small Batch Rice Krispie Treats.
Step 1: Prep your loaf pan
Line a 9×5 loaf pan with parchment paper and set aside.

Step 2: Melt your butter
In a large saucepan, melt the butter over medium heat.

Step 3: Add in salt and marshmallows
Once melted, add in the salt and stir. Then divide the marshmallows by separating 1 cup and setting it aside for a later step.

Step 4: Add in the rest of the marshmallows
Pour the rest of the melted marshmallows into the pot and continue to stir until melted.

Step 5: Add in vanilla extra, rice krispies, and remaining marshmallows
Once melted, remove the pot from the heat and then add in the vanilla extract. Give it a quick stir before adding in the Rice Krispies cereal and the 1 cup of marshmallows we set aside earlier. Fold gently until combined.

Step 6: Pour into your prepared loaf pan
Pour the mixture into the prepared baking pan and spread it out evenly, without pressing in too hard. Use the back of a wet fork or spoon to lightly press it down and into the corners of the pan. Do not overpack it otherwise it will become hard once set.

Step 7: Let the rice krispies rest
Leave it on the counter to set for at least 1 hour. Do not refrigerate or it will harden and be difficult to eat. Once set, slice into 4 bars or 8 squares. And Enjoy!

Find the measurements and full recipe below in the recipe card!
The best way to store your Small Batch Rice Krispie Treats
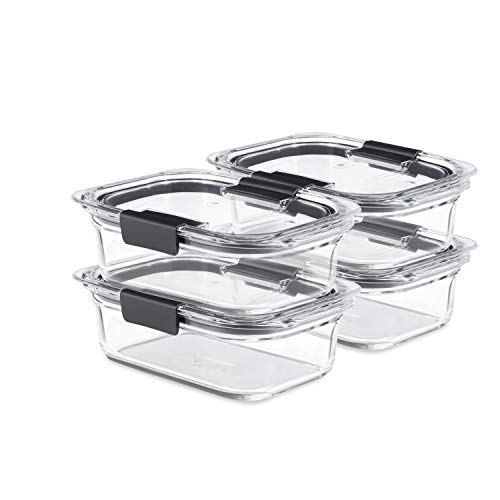
The best way to store your small batch rice krispie treats is in an airtight container. You can keep them at room temperature for up to a week, or you can freeze them for up to three months.
If you freeze these recipe krispie treats, be sure to let them come to room temperature before eating them to allow the texture to soften. Freezing them will change the texture so it is not recommended since there are just a few in this recipe.
These are best stored in an airtight container on the counter at room temperature. Refrigerating will harden them. It is best eaten fresh and consumed within 1-2 days.

Storing Leftover Ingredients
You shouldn’t have many left over ingredients from this recipe but there will be a few you’ll want to store and use in another recipe later.
Rice Krispie Cereal: Depending on the size of box you purchase you will have left over cereal. The smallest box of rice krispie cereal is typically a 12 oz box.
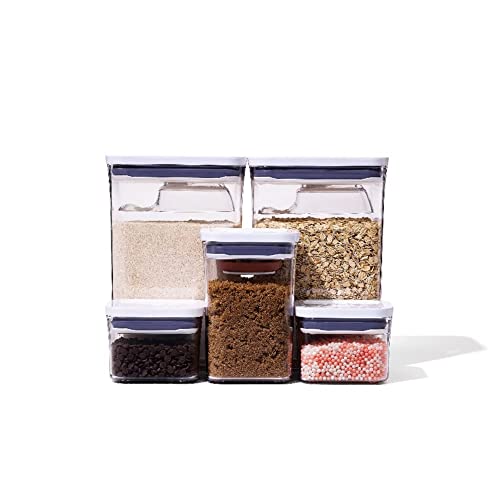
You can store this cereal dry in an air tight container like an OXO and it will stay fresh for 6-12 months. You can either use this cereal to make these treats again at a later date or just eat the rice krispie treat cereal for a fast breakfast.
Mini Marshmallows: Miniature marshmallows can be stored in your pantry or refrigerator for 2-6 months in an airtight container so that you can make another batch of these treats at a later date. Be sure to bring them to room temperature if you are storing in the refrigerator.
Butter: According to the US Department of Agriculture’s Food Safety and Inspection Service, butter may be safely kept in the refrigerator for up to three months or in the freezer for up to nine months, for later use.

Frequently Asked Questions
Let’s make some Rice Krispie treats!
There are plenty of reasons to make mini rice krispie treats. They’re very quick and easy to make, meaning you can whip up a batch whenever you want a sweet snack or dessert. This small batch rice krispie treat recipe allows you to store or freeze this dessert for later, so you always have something on hand when you crave something sweet. They’re grain-free and gluten-free, so almost anyone can enjoy them at anytime of day. You’ll be glad you did.
Small Batch Rice Krispie Treats

Do you want to make a smaller batch of rice krispie treats? It is more practical to make just one pan of them rather than a double batch, which would go stale. This small batch rice krispie treats recipe is also an excellent meal prep or weekday dessert because it can be prepared in advance and stored in an airtight container until you are ready to eat.
- Prep Time: 7 minutes
- Setting Time: 30 minutes
- Total Time: 37 minutes
- Yield: 4
- Category: Dessert
- Method: Stove
Ingredients
- 3 tablespoons butter
- 1 pinch of salt
- 1/2 teaspoon vanilla extract
- 2.5 cups mini marshmallows, divided
- 3 cups Rice Krispies cereal
Instructions
- Line a 9×5 loaf pan with parchment paper and set aside.
- In a large saucepan, melt the butter over medium heat.
- Once melted, add in the salt and stir. Then divide the marshmallows by separating 1 cup and setting it aside for a later step. Pour the rest of the marshmallows into the pot and continue to stir until melted.
- Once melted, remove the pot from the heat and then add in the vanilla extract. Give it a quick stir before adding in the Rice Krispies cereal and the 1 cup of marshmallows we set aside earlier. Fold gently until combined.
- Pour the mixture into the prepared baking pan and spread it out evenly, without pressing in too hard. Use the back of a wet fork or spoon to lightly press it down and into the corners of the pan. Do not overpack it otherwise it will become hard once set.
- Leave it on the counter to set for at least 1 hour. Do not refrigerate or it will harden and be difficult to eat.
- Once set, slice into 4 bars or 8 squares and enjoy!
Notes
- These are best stored in an airtight container on the counter at room temperature. Refrigerating will harden it.
- It is best eaten fresh and consumed within 1-2 days.
Our Favorite
Desserts recipes


Great recipe!
Excellent!
I’ve made this multiple times with multiple cereals in the last few weeks and they’re awesome, thank you so much!